Make your hangars work for you
Add a hangar, select or design a drone within its size and cost limits, then command it through the command wheel. Protect the hangar: its destruction disables the drones it launched.
A working drone fleet starts with a valid hangar design and a surviving carrier. Add a hangar, choose or design the drone it launches, and inspect that hangar's size and cost limits. The 1.0 release allows several cheaper drones or one more expensive design, but the editor's limits determine what fits your particular setup.
The most important failure rule is explicit: destroying a launching hangar disables its drones. Do not treat a fleet that is already in space as completely independent of the ship carrying it. Protecting the hangar is part of keeping the fleet useful.
1. Pick the role before the drone
Decide whether you want several inexpensive ships, a smaller number of more capable ones, or a specialized expendable design. The developer's 1.0 announcement describes hangars holding cheaper drones, a single advanced drone, or designs such as custom torpedoes and mines.
Start with one role you can test. A general-purpose carrier built around many unrelated drone ideas is harder to diagnose than a carrier with one clearly defined task. If the design fails, you want to know whether the problem is size, cost, power, control or survival rather than changing all of them together.
2. Check size and cost in the editor
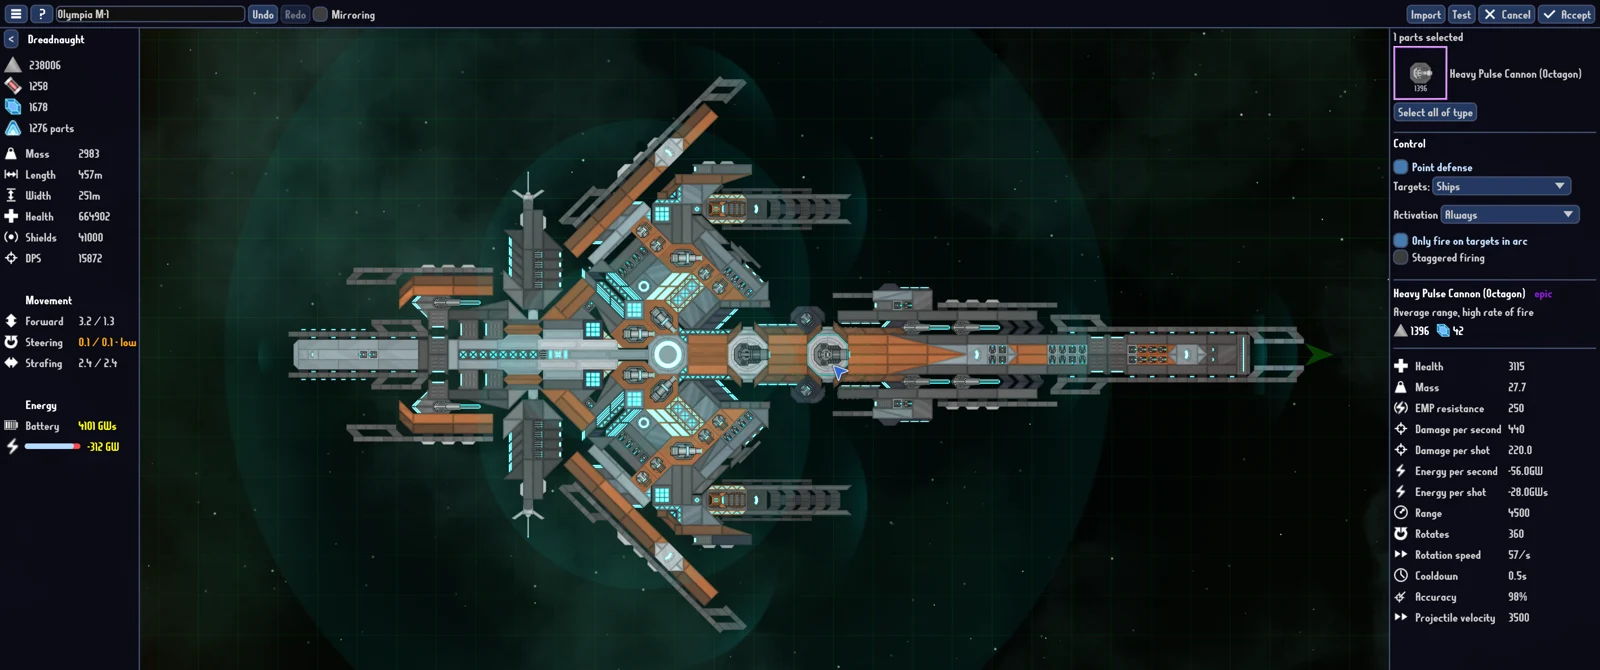
For each hangar, select an existing drone or create a new one. The editor shows the drone size and cost limit. Check the design against the information for that hangar instead of assuming a ship that looks small on screen is eligible.
The release notes say a hangar can support more drones when those drones are cheaper. That is the tradeoff to inspect when deciding between a swarm and a more expensive craft. Use the current editor's displayed allowance for the hangar and design you selected.
Release 93 fixed a bug where a stored hangar design could still be used after exceeding its defined cost, maximum length or maximum width. If an older build used that loophole, do not assume it is a supported design constraint. Recheck the actual limits on the current build before blaming a missing launch on input trouble.
3. Treat energy as a drone problem too
Drone weapons have their own design needs. Update 95 fixed missing energy warnings for higher-energy weapons on drones. A quiet warning panel in an older version was therefore not reliable proof that every weapon choice was sustainable.
Inspect current warnings and the energy information before testing. When a drone performs poorly, compare what it is trying to fire with the power available in its own design. A stronger weapon on paper does not establish a stronger drone if the design cannot use it effectively. The same engineering balance of weapons, thrust, energy and protection that applies to the main ship is a useful starting point here.
Update 95 also fixed hangar design-cost editing not taking crew modifiers into account. Check the updated display for your current crew and design instead of carrying an old cost calculation across versions.
4. Give commands through the wheel
The 1.0 release introduced a command wheel, toggled with middle mouse by default on mouse controls. The documented drone commands include return, defend, attack and self-destruct. You can also take control of drones.
Use the current control hints if you have rebound your controls or are using a controller. The default mouse shortcut is not a universal Deck binding. Update 95 introduced built-in controller support, so follow the Deck controls guide when the wheel or movement does not respond on that device.
Start with ordinary attack, defend and return commands to understand how the design behaves. Self-destruct is a destructive order, so reserve it for a situation where that is actually your intention. Do not use it as a generic test for whether the command wheel is working.
5. Protect the launching hangar
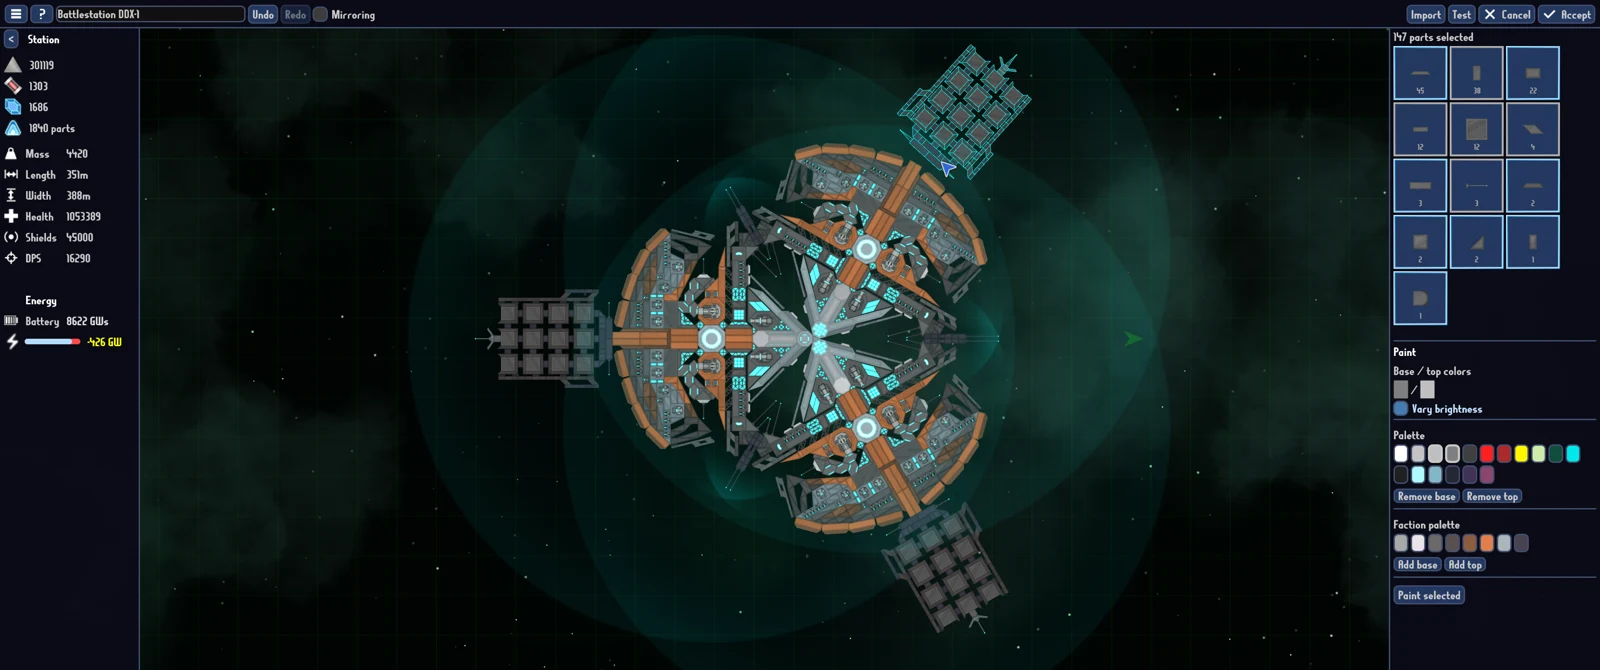
Watch the carrier as well as the drone targets. The official notes state that drones become disabled when the launching hangar is destroyed. That makes an exposed hangar a potential point of failure for more than one craft at once.
Consider protection and positioning as part of the carrier design, then test whether the ship still moves and fights as intended. Adding more protection also changes the design's overall demands, so check the editor again instead of treating armor as a free improvement.
The flight screen shows stored and launched drones. Use those displays to distinguish a drone that has not launched from one that launched and then became disabled. That distinction points to different checks: design eligibility and control on one side, carrier damage and battle events on the other.
Recent fixes that affect old advice
| Symptom or older workaround | Version change to check |
|---|---|
| A stored design launches despite exceeding hangar limits | Release 93 fixed this invalid-design case. |
| High-energy drone weapons show no warning | Update 95 restored missing energy warnings. |
| Editing cost ignores crew effects | Update 95 fixed crew modifiers in hangar design costs. |
| Drone preview fails to appear | Update 95 fixed a preview-generation issue. |
| Switching to a more expensive drone preserves the old quantity | Release 90 fixed this behavior; it is not a supported capacity strategy. |
Test the carrier before relying on it
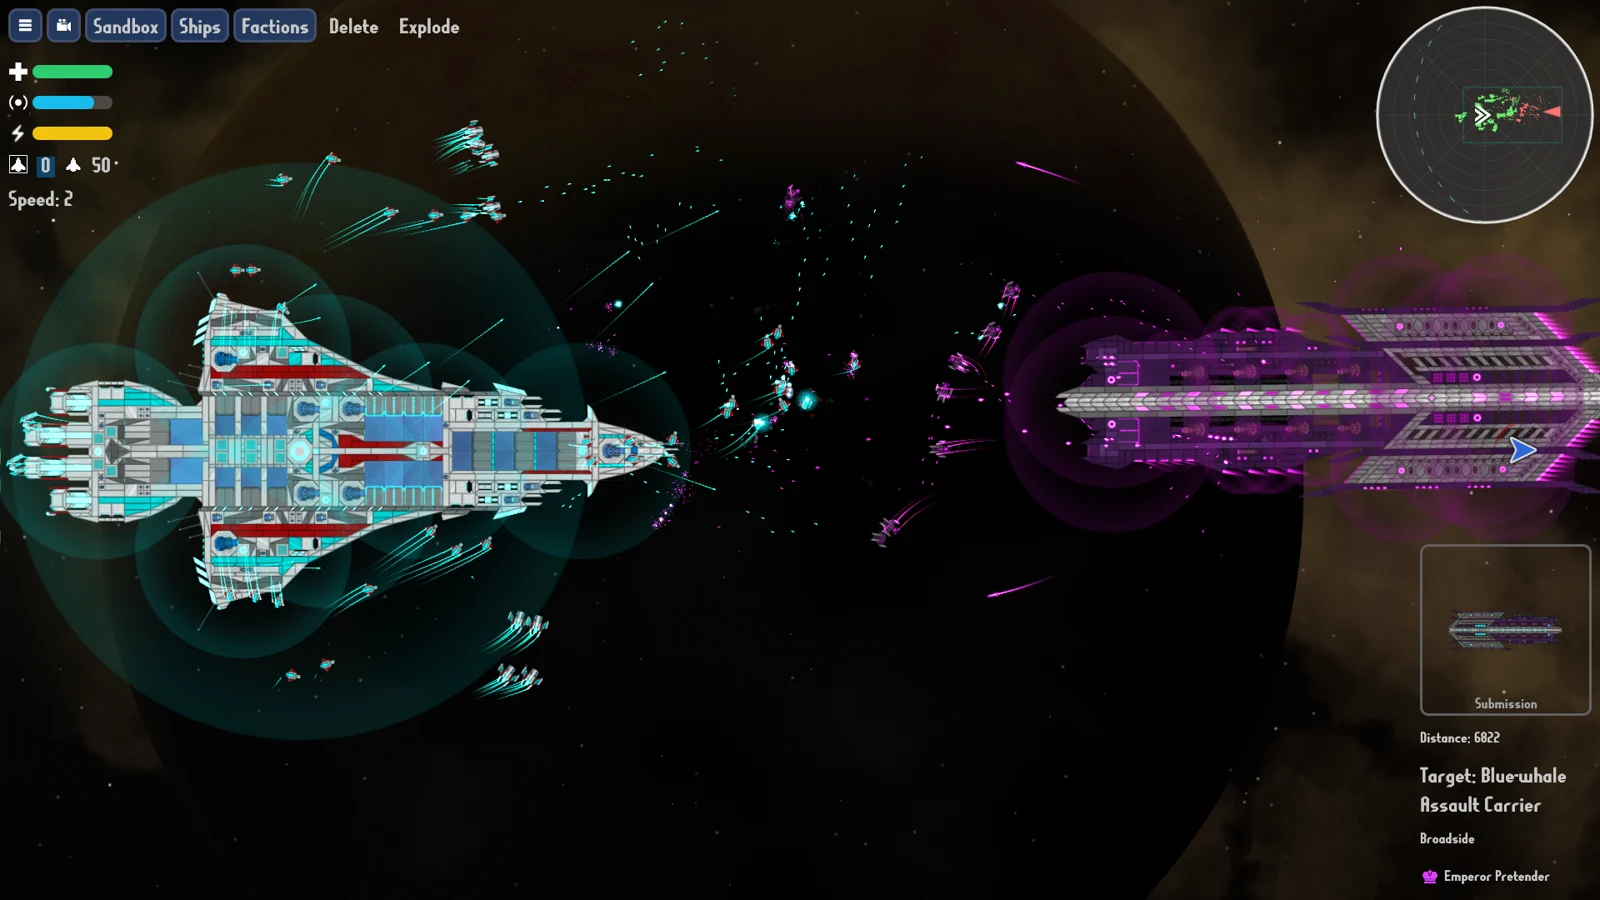
The official game includes a sandbox, and the 1.0 update added the ability to spawn faction fleets there. Use it to observe the carrier and drone behavior in a repeatable situation before taking the design into a bounty mission. A sandbox test helps identify problems; it does not guarantee that every mission encounter will play out the same way.
Change one design choice at a time and compare the result. If technology choices are preventing the redesign you want, see Respecialize your tech tree. Before taking the carrier across a longer route, make a separate fuel and trader check.
Further reading
- Official 1.0 release and follow-up patches — hangars, command wheel and carrier failure rule; Releases 90, 92 and 93.
- Update 95 — energy, cost and preview fixes.
- Official game description — shipbuilding and sandbox features.
- All guides.